BeforeAfter
Screen & documents
Photos of monitors, slides and documents
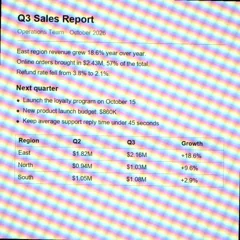
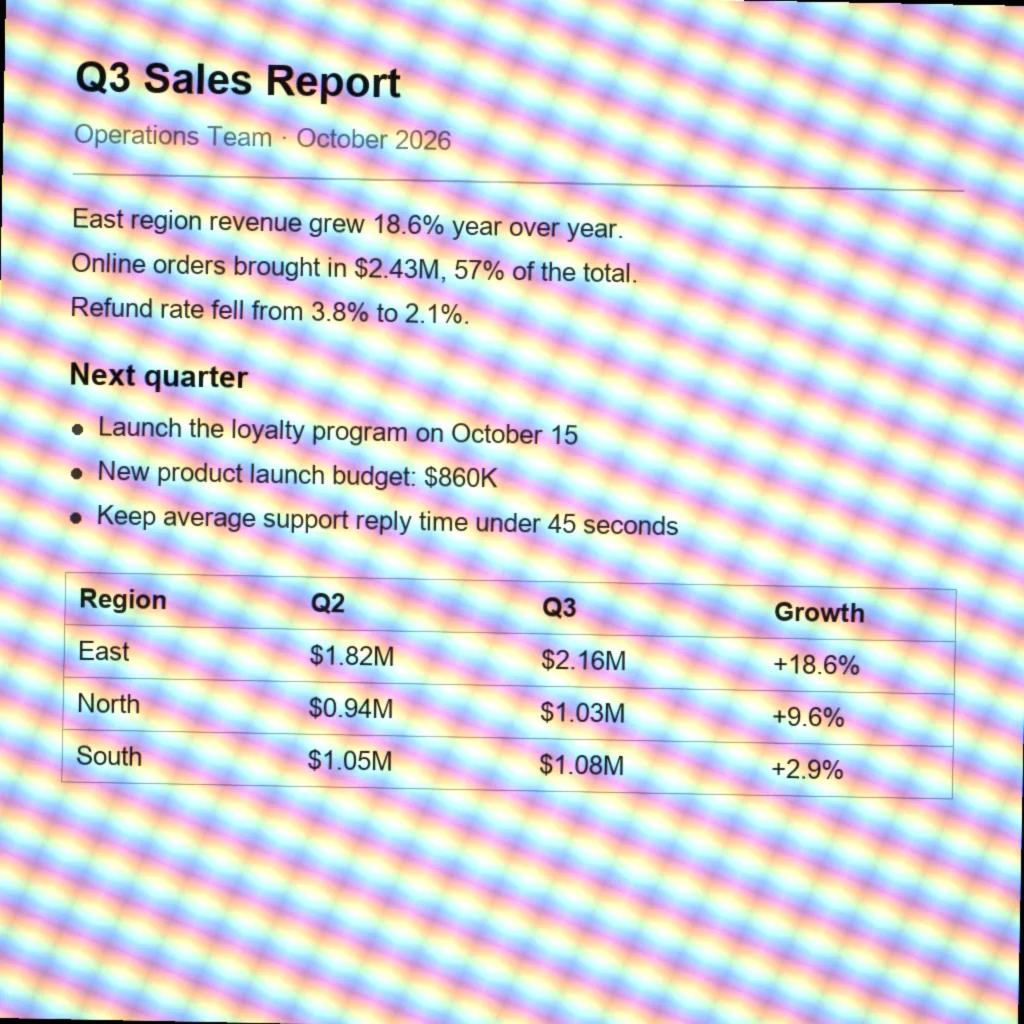
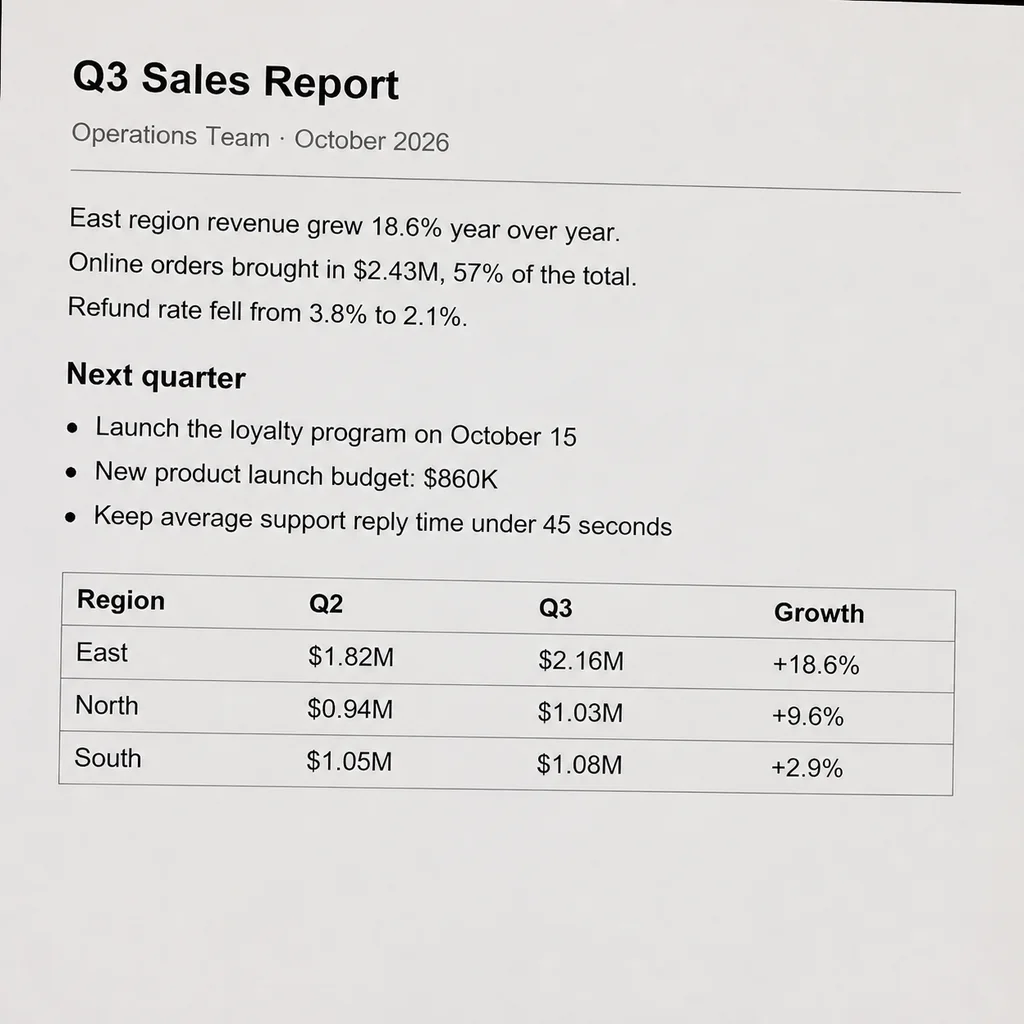
Reports, slides, error messages and chats photographed off a screen. The rainbow bands go away; every character and number stays where it was, so the photo is readable again.
Photographed a screen, a TV or a printed page and got rainbow ripples, wavy lines or scan lines? Upload it and get a clean photo back — with the text, faces and colors of your shot.
Each kind of moire needs a slightly different fix. Drag the divider to compare, then load the sample into the editor or upload your own.
Reports, slides, error messages and chats photographed off a screen. The rainbow bands go away; every character and number stays where it was, so the photo is readable again.
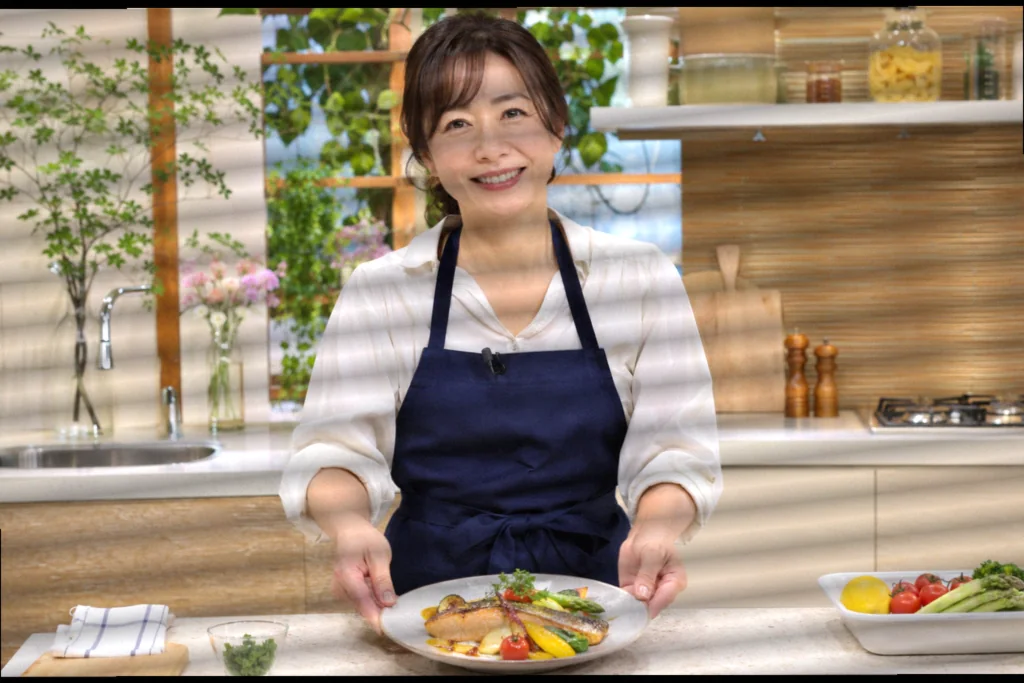
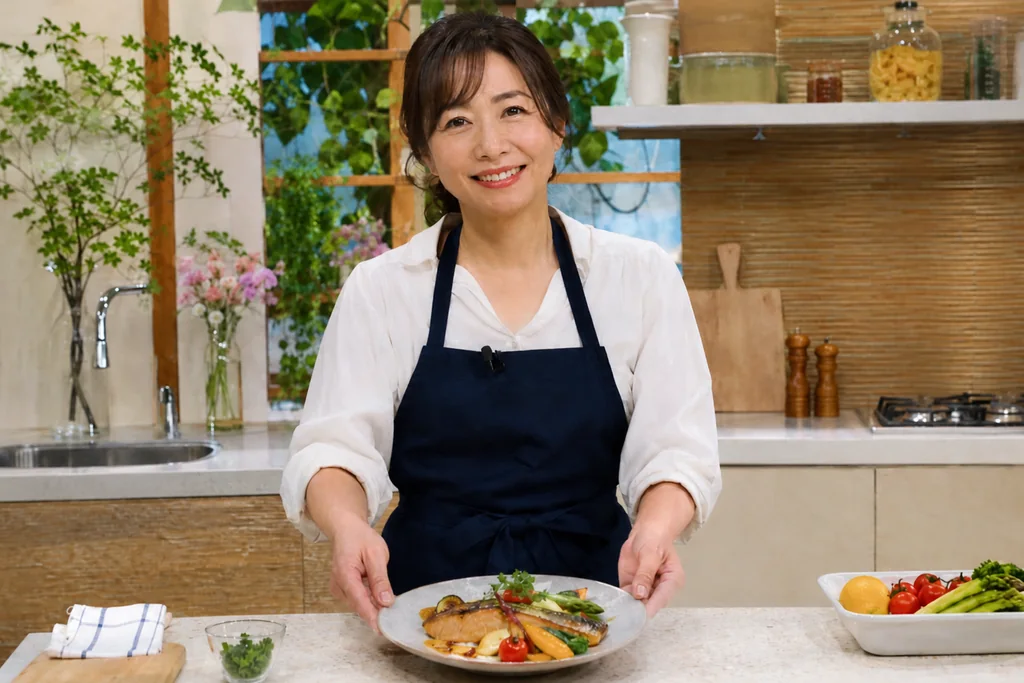
A recipe on a cooking show, a scene you wanted to keep, a video call. Scan lines and banding are removed while faces, expressions and skin tones stay true.
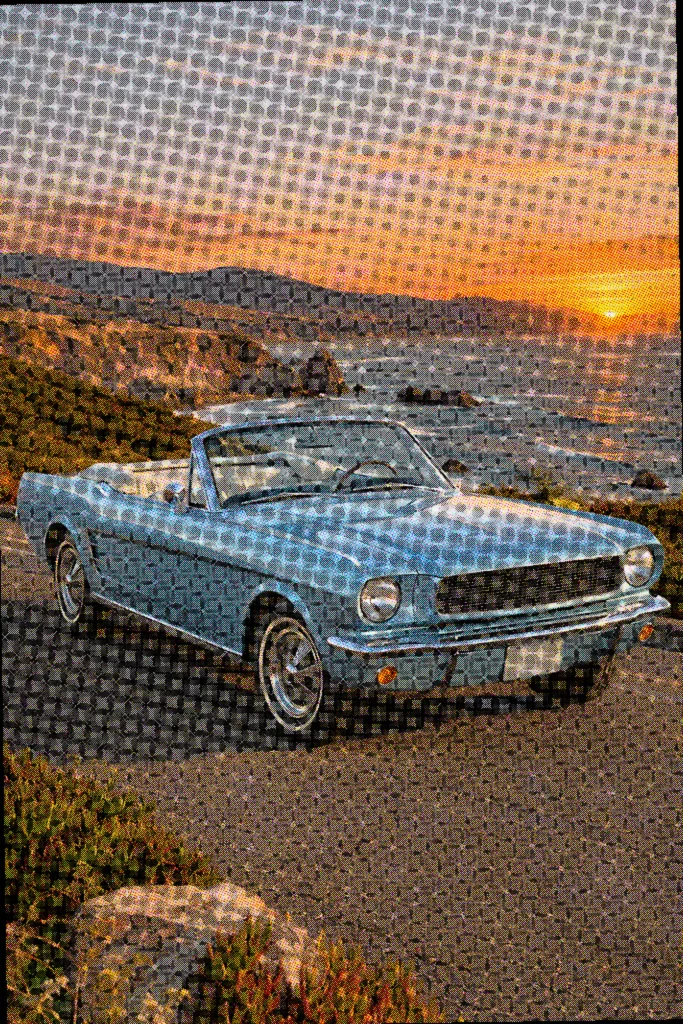
Scans and photos of printed pages show halftone dots and rosette patterns. Descreening turns them into smooth continuous tone without repainting the picture.
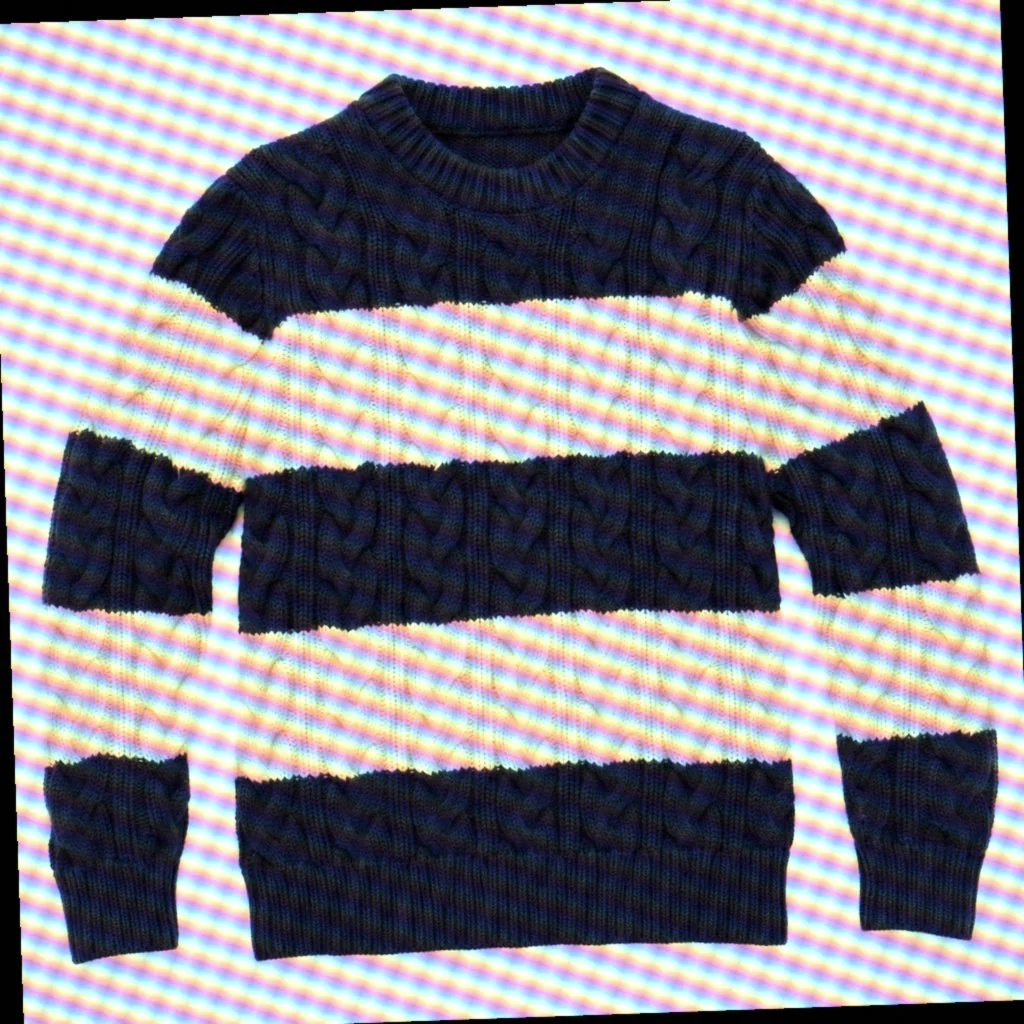
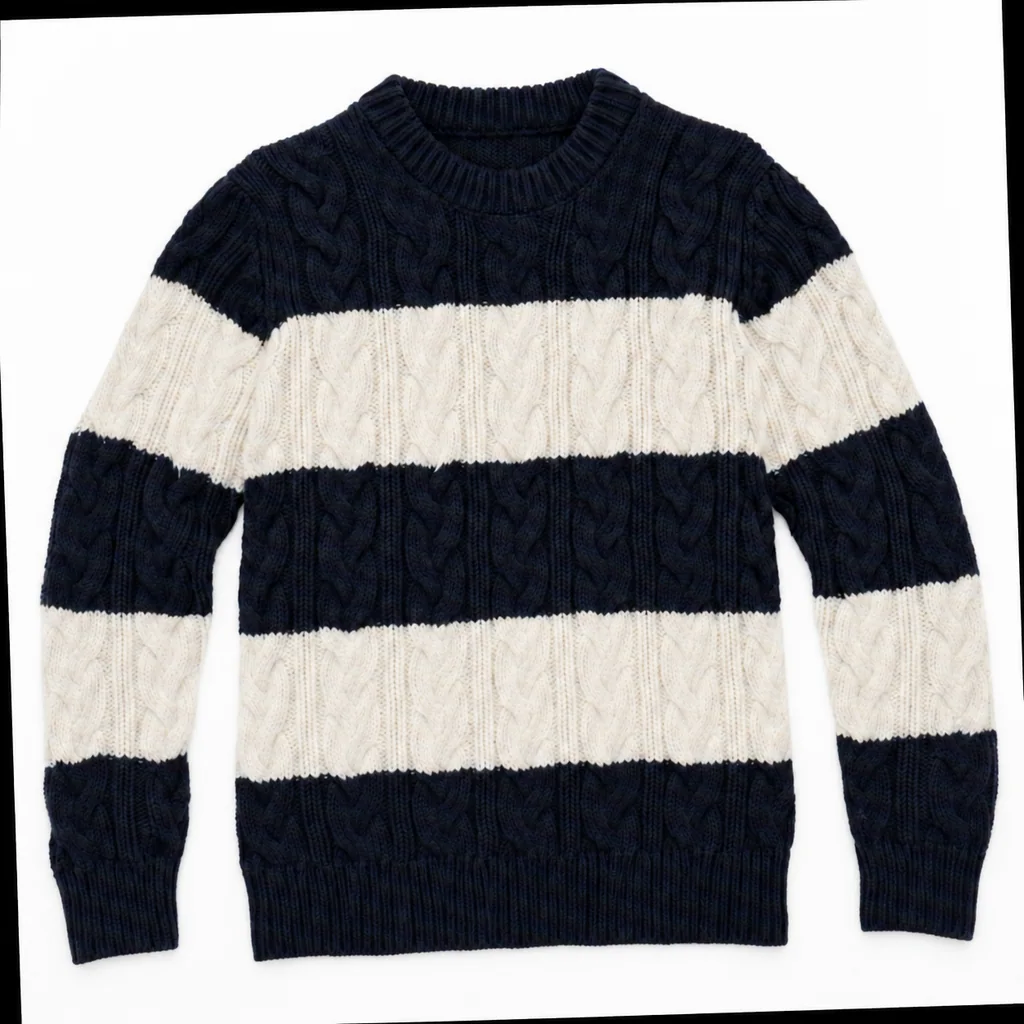
Fine knit, mesh and pinstripes ripple on camera. Only the false color and ripples are removed — the real weave and stripes of the product are kept.
What we focus on, based on what people worry about most with moire removal.
The prompt for screen photos tells the model to keep every character exactly as it is and not to guess unclear words.
Classic descreen filters erase every repeating pattern. The model can tell a knit or a window grid from moire.
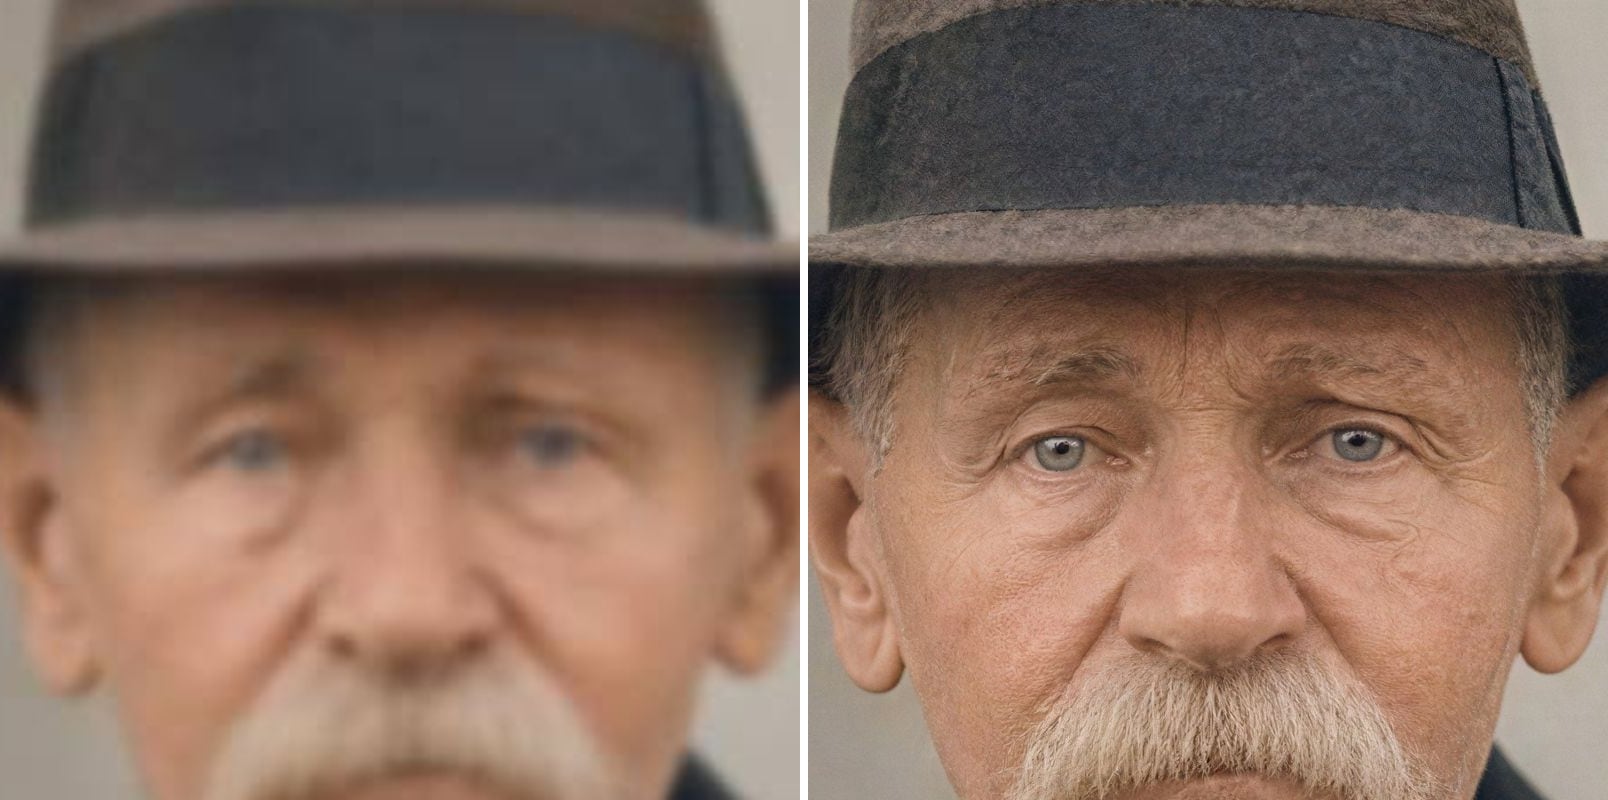
Your result opens as a before/after slider, and you can zoom in to check small text and faces.
Screens, TV frames, printed pages and fabric each get their own instructions — pick one or edit the prompt.
The credit cost is shown on the Generate button before you start. New users get free credits, no card needed.
A screen is a fine grid of red, green and blue sub-pixels, and your phone camera samples it with its own grid of sensor pixels. When the two grids are almost — but not exactly — the same size, they interfere and draw large ripples and bands that were never on the screen. Printed pages do the same with halftone dots, and TVs add scan lines.
If you can still retake the photo, these reduce moire before it happens. If you can't, upload the shot you have.
Rotating the camera a few degrees changes how the two grids line up and often shrinks the bands.
Moving the phone away and zooming changes the scale of the screen pixels on the sensor.
A dimmer screen and a faster shutter make banding and flicker less visible.
On your own device, a screenshot avoids moire completely. This tool is for the photos you couldn't screenshot.
More questions? Email support@imagesv2.ai.
Moire is an interference pattern that appears when two fine grids overlap at slightly different sizes or angles — usually the pixel grid of a screen and the sensor grid of your camera. It shows up as rainbow ripples, wavy lines or a woven texture that isn't part of the real image.
Upload the photo in the editor above and click Generate. Pick the setting that matches your photo — screen, TV, printed page or fabric — or keep the default. You can try one of the samples first to see what the result looks like.
The screen setting tells the model to keep every character exactly as it is, and clear text normally comes through unchanged. Because the image is redrawn rather than filtered, very small or badly blurred text can occasionally come back slightly different. For contracts, invoices or anything where one digit matters, use the before/after slider and zoom in to check before you use the result.
Some phones include a remaster or moire option in the gallery. This works in any browser on any device, lets you pick a setting for screens, TV frames, printed pages or fabric, and shows a before/after comparison so you can check details.
Yes. Horizontal scan lines and banding from TVs and displays are removed while faces, expressions and lighting are kept. Glare and reflections on the screen are a different problem and may remain.
Yes. Choose the printed-page setting to descreen halftone dots and rosette patterns into smooth tone while keeping the colors and composition of the page.
Blur removes moire by removing detail with it. Frequency-based filters suppress every regular pattern, so fabric weaves, window grids and fine text strokes get damaged too. An image-editing model can tell which patterns belong to the picture.
Generate again — each run is a fresh redraw, so a second try often fixes a missed area. You can also add a line to the prompt describing what must stay, for example "the sweater has cream stripes".
New users get free credits without a credit card. The exact credit cost of each generation is shown on the Generate button before you start; see the pricing page for plans.
Try a sample or upload your own screen photo — free credits for new users.
Browse every AI image generator, model, converter, and photo tool in one place.
Set the quality, then create from text or edit your own photo. Credits shown below are per image at 1024×1024 and match what the Generate button charges.
| Model | Best For | Highlights | Credits/Image (Low–Top) |
|---|---|---|---|
| GPT Image 2 | Everyday images, posters with text, quick drafts | Lowest cost at Low quality, sharp in-image text | 10–110 |
Quality Levels and Credits
| Quality | Image Detail | Best For | GPT Image 2 |
|---|---|---|---|
| Low | Good composition, lighter detail | Testing prompts, bulk drafts, social posts | 10 |
| Medium | Rich detail and textures | Marketing images, slides, blog art | 40 |
| High | Fine detail, clean text | Print, posters, product shots | 110 |
| Auto | The model picks a level | When you are unsure | 40 |
Credits per image for text-to-image at 1024×1024. Image-to-image adds 20 credits per reference image.
Your first generation costs only 3 credits.
Cost-Saving Tips
Choose Generate, describe the image you want, then set size (Square, Landscape, Portrait or Custom), quality, output format and background. Click "Generate" and the selected model creates a brand-new image from your description.
Tips for Better Results
Switch to Edit, upload one or more reference images and describe the change you want — no mask needed. The model uses your images as a reference to create a new version. Add "keep the main subject" to the prompt if the result drifts too far.
Example Prompts
To change only part of a photo, click "Select an area or mark up" under your uploaded image. Mark up is the quickest way: draw on the image and tell the model what the marks mean.
Mark Up